With today’s smartphones, we practically carry computers wherever we go, so monitoring our checking account balance is as simple as connecting into our bank’s mobile app or online banking website.
Despite the convenience, the balance displayed on your bank’s app may be inaccurate. Not all transactions clear instantly, especially when you write a check.
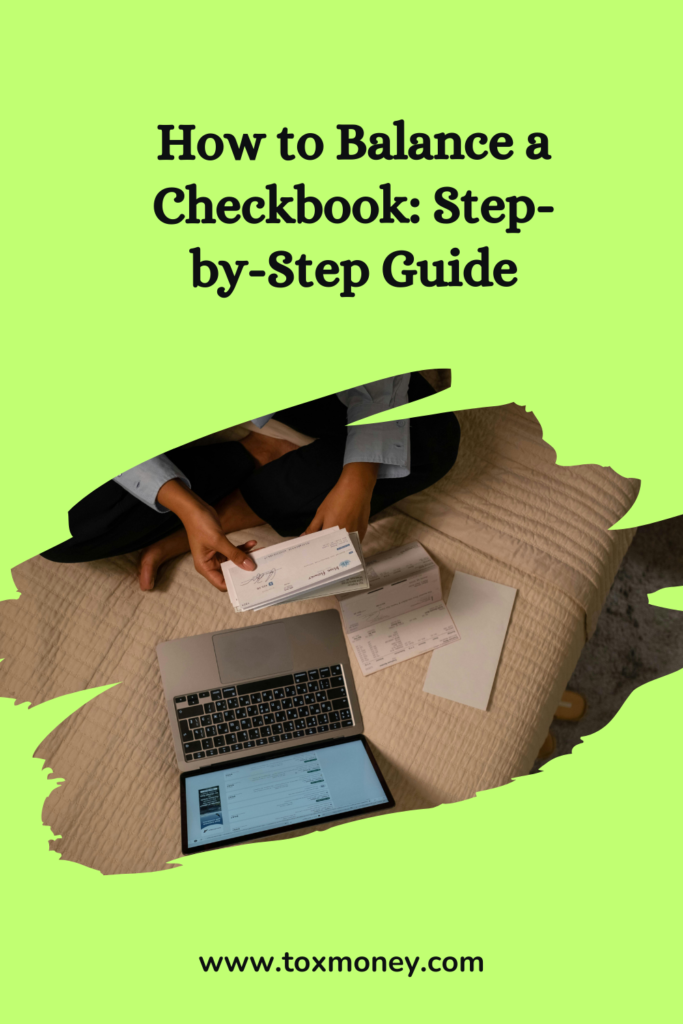
To avoid losing track of your balance and incurring an overdraft charge, balance your checkbook, also known as a check register. You accomplish this by manually logging each transaction, whether it is a debit card purchase, a cheque, an automatic payment, or a deposit.
How to balance a checkbook.
Balancing your checkbook in today’s digital environment may appear redundant, but it is essential for two reasons.
First, balancing your checkbook allows you to see exactly how much money you have left, including any pending or outstanding checks that have not yet been processed or deposited.
Second, it helps you identify irregularities that might indicate fraud.
These procedures will help you maintain your checkbook balance up to date, so you always know how much money is in your checking account and there are no unrecognized transactions. It also allows you to see when a cheque clears your bank account.
Step 1: Collect your bank statement.
Some banks still mail out monthly bank statements at the end of the month, but many have converted to online statements only. If you no longer receive paper statements, log onto your online banking system and print the most recent statement.
Step 2: Enter Earned Interest.
If your checking account earns interest, the bank will pay you interest on your balance each time it issues a monthly statement.
This interest payment is often one of the final items on the statement. Enter the money into your check register like any other transaction.
Step 3: Subtract any bank fees and include reimbursements.
If your bank charged you a service fee for writing checks, using out-of-network ATMs, or any other service, locate the charges on your account and enter them in your check register. If your bank reimburses ATM fees, identify them on your statement and record them as deposits in your check register.
Step 4: Verify all deposits.
Check all deposits in your check register against those on your monthly statement. Mark all matching transactions in your checkbook and bank statement.
Make a note of the dates, descriptions, and amounts of any deposits that appear in your check register but not on your statement. These are referred to as outstanding deposits.
There may be a spot on the back of your statement to indicate unpaid deposits. Save these for later.
Step 5: Verify all check payments.
Compare the check payments in your check register to those on your monthly bill. Make a checkmark next to all matching check payments in your check register and bank statement.
Step 6: Check for previous months’ outstanding items.
Retrieve prior statements including uncleared outstanding transactions, such as checks and deposits. Check your statement to check whether these outstanding items have been cleared.
If they have cleared in this statement, mark them off both the outstanding transaction list and your current statement.
If an outstanding transaction hasn’t cleared your statement within 60 days, contact the person or firm you paid to determine if there’s a problem. If the individual or firm misplaced or never got the check, contact your bank to cancel the payment.
Step 7: Verify all other transactions.
Compare all other transactions in your check register with those on your monthly bill. Such transactions include debit card purchases, automated payments, ACH transfers, and ATM withdrawals.
Make that the amount you put in the check register matches the debit amount on your bill. Mark all matching transactions in your check register and statement with a checkmark.
Take note of any differences and take appropriate action to fix them. For example, if you see a higher-than-expected fee for a certain debit card transaction, contact the firm to determine why. If there is no resolution, please contact your bank for assistance.
Step 8: List all outstanding debits.
Make a note of the dates, descriptions, and amounts of any check, debit, or ACH payments noted in your check register but not on your statement (those without checkmarks).
Save these pending check transactions for later. As with overdue payments, there may be a section on the back of your monthly bill to record these debits.
Step 9: Balance your checkbook.
Take note of the statement ending balance from your current monthly statement. Add all outstanding deposits to your statement’s final total, then deduct all outstanding debits. The total should match the balance in your check register.
If there is a difference between the two totals, you must establish where the problem is.
A refresher on entering transactions into your check register.
To manage your checkbook, you must record all of your transactions in a check register so that you may review them later. A well-maintained check register makes it easy to balance your checkbook and identify mistakes.
Follow these procedures to keep a complete check register.
Enter the starting balance.
Enter a date.
Enter the check number, if appropriate.
Enter a transaction description.
Enter your payment or deposit amount.
Calculate your updated balance.
Clear the transaction.
For further information, see our guide to writing checks and entering transactions into the check register.
Finding an error in an unbalanced check register.
Things don’t always balance out. This might be due to an arithmetic error, a transposed number, an unrecorded transaction, or even a misapplied debit or credit.
Follow these steps to figure out where the error is and how to proceed.
Step 1: Double-check your outstanding transactions
Check your overdue payments and debits to ensure they are accurate. Perhaps you missed a cleared transaction on your statement or thought you saw one but didn’t.
If you see a disparity, make the required modifications and balanced your checkbook.
Step 2: divide the difference.
If Step 1 does not resolve the problem, you can use basic division to identify potential problems.
To calculate the difference between your statement and checkbook balances, subtract the smaller from the bigger. Divide the difference by nine. If the result is a round number with no decimals, then you have a transposed number. This indicates that you accidently jumbled up the order of your numbers. For example, you typed $154 as $145.
In this situation, compare all of your canceled checks and receipts to your check register to determine the transposed number. Correct the transposed number and balances the checkbook register.
If it is not a transposed number, divide the difference by two. If the result is a conventional dollar and cent number, such as 2.95 (not 2.956), look it up in your checkbook register. You unintentionally added it instead of subtracting it, or vice versa.
When you locate this value and confirm the math error, reverse it as necessary and rebalance your check register.
Step 3: Contact your bank.
If you are still unable to identify the source of the imbalance in your checkbook, contact your bank for more assistance in reconciling it. Perhaps there is an error in a pending transaction or an unnoticed hold on your account that is keeping you from maintaining a balanced checkbook.
Pen-and-paper alternatives
Does all of this writing and hand addition and subtraction seem overkill in today’s digital world? Fortunately, there are solutions to all of this checkbook balancing, including applications and software that connect directly to your bank account and help you track your balance.
Daily Check-ins
You may skip all of the balancing at the end of the month by checking into your online banking account every day and clearing transactions from your check register.
Choose a time of day when you are available every day and go into your online banking. Compare your checkbook register to the day’s transactions and mark those that appear as completed in your account. Leave unchecked transactions in your check register.
Repeat this practice on a daily basis. Every day, check for any outstanding transactions and check them off when they clear. If a transaction remains unclear after 60 days, contact the person or firm you paid to resolve the issue. If they can’t assist, contact your bank.
Financial Applications and Software
There are also many of financial applications and tools to assist you balance your checkbook. They can also aid you with your finances.
Apps such as Mint, Personal Capital, You Need A Budget (YNAB), and others connect to your bank account to log transactions. You will frequently need to log in and classify these transactions, which is an excellent opportunity to check them off in your check register.
In Conclusion
Though we live in an automated age, physical effort is still required to verify that everything is properly. This is most noticeable while balancing a checkbook. Yes, our online banking applications and websites log our transactions, but some take longer to report.
If you miss this transaction and do not balance your checkbook at the end of the month, you risk overdrawing your bank account and incurring a high overdraft fee.
If you’re not comfortable with having one enormous amount each month, daily check-ins through your bank or personal financial app may be a better option.